
Docs › Settings: alerts and getting paid
Settings: alerts and getting paid
All plansYour alert email, and connecting your own Stripe account for ticket and shop sales.
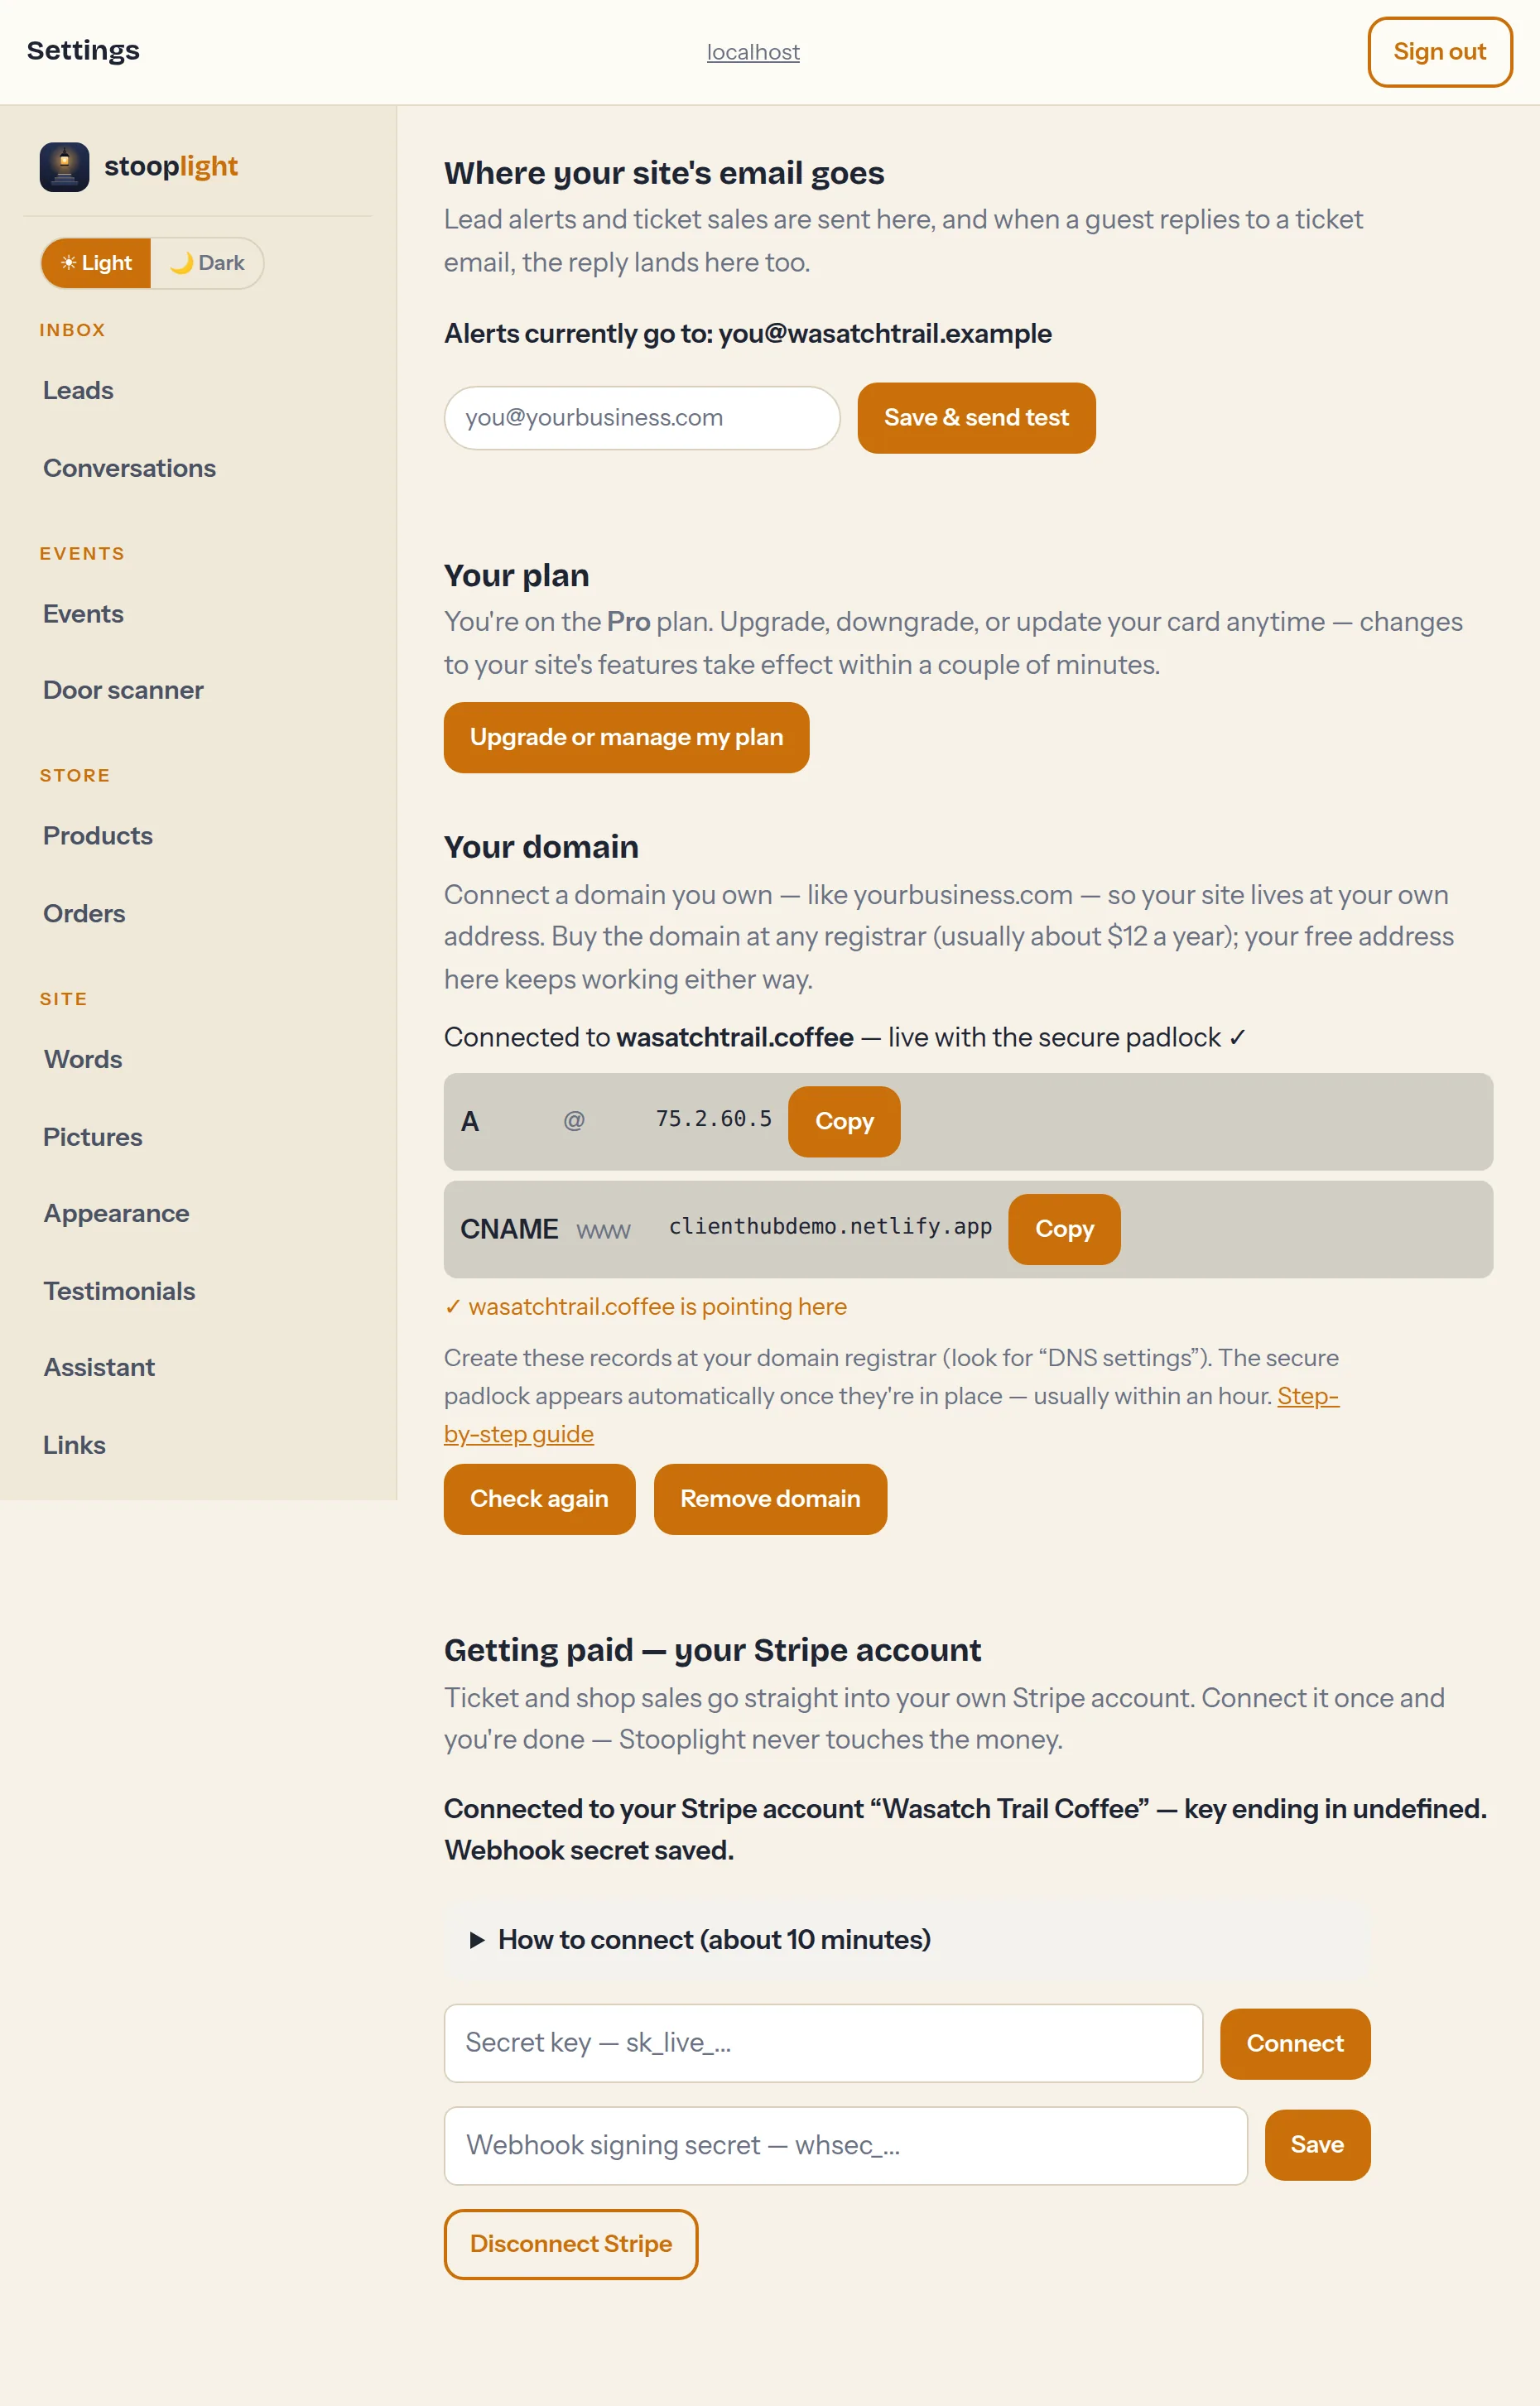
Email alerts (all plans)
Enter the address that should be pinged when a lead arrives or a ticket sells. A test email goes out immediately; confirm it and you're set.
Getting paid — your Stripe account (Pro)
Ticket and shop money goes straight into your own Stripe account; Stooplight never touches it. Connecting takes about ten minutes, once, and needs two things from Stripe: a secret key and a webhook signing secret. Both get pasted into the Settings tab's "Getting paid" card, which shows the exact webhook address to use. Here's where to find them in Stripe — the screenshots below are the phone view at dashboard.stripe.com.
Part 1: your secret key
- Create a free account at stripe.com, or sign in at dashboard.stripe.com.
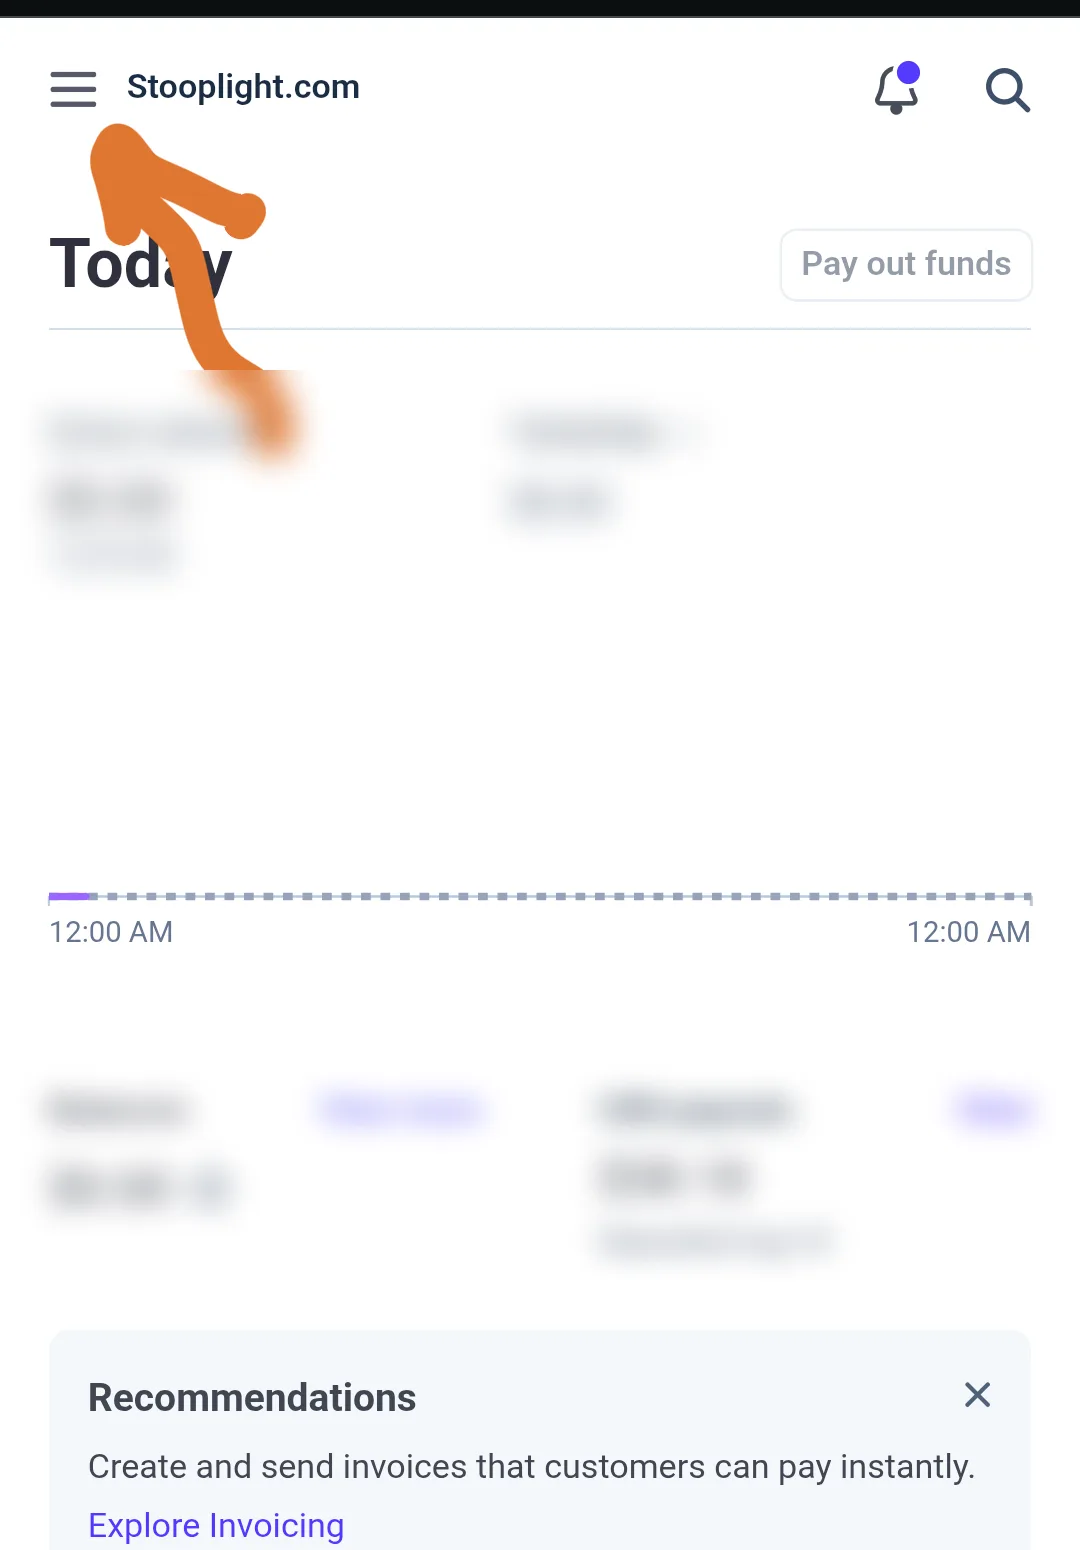
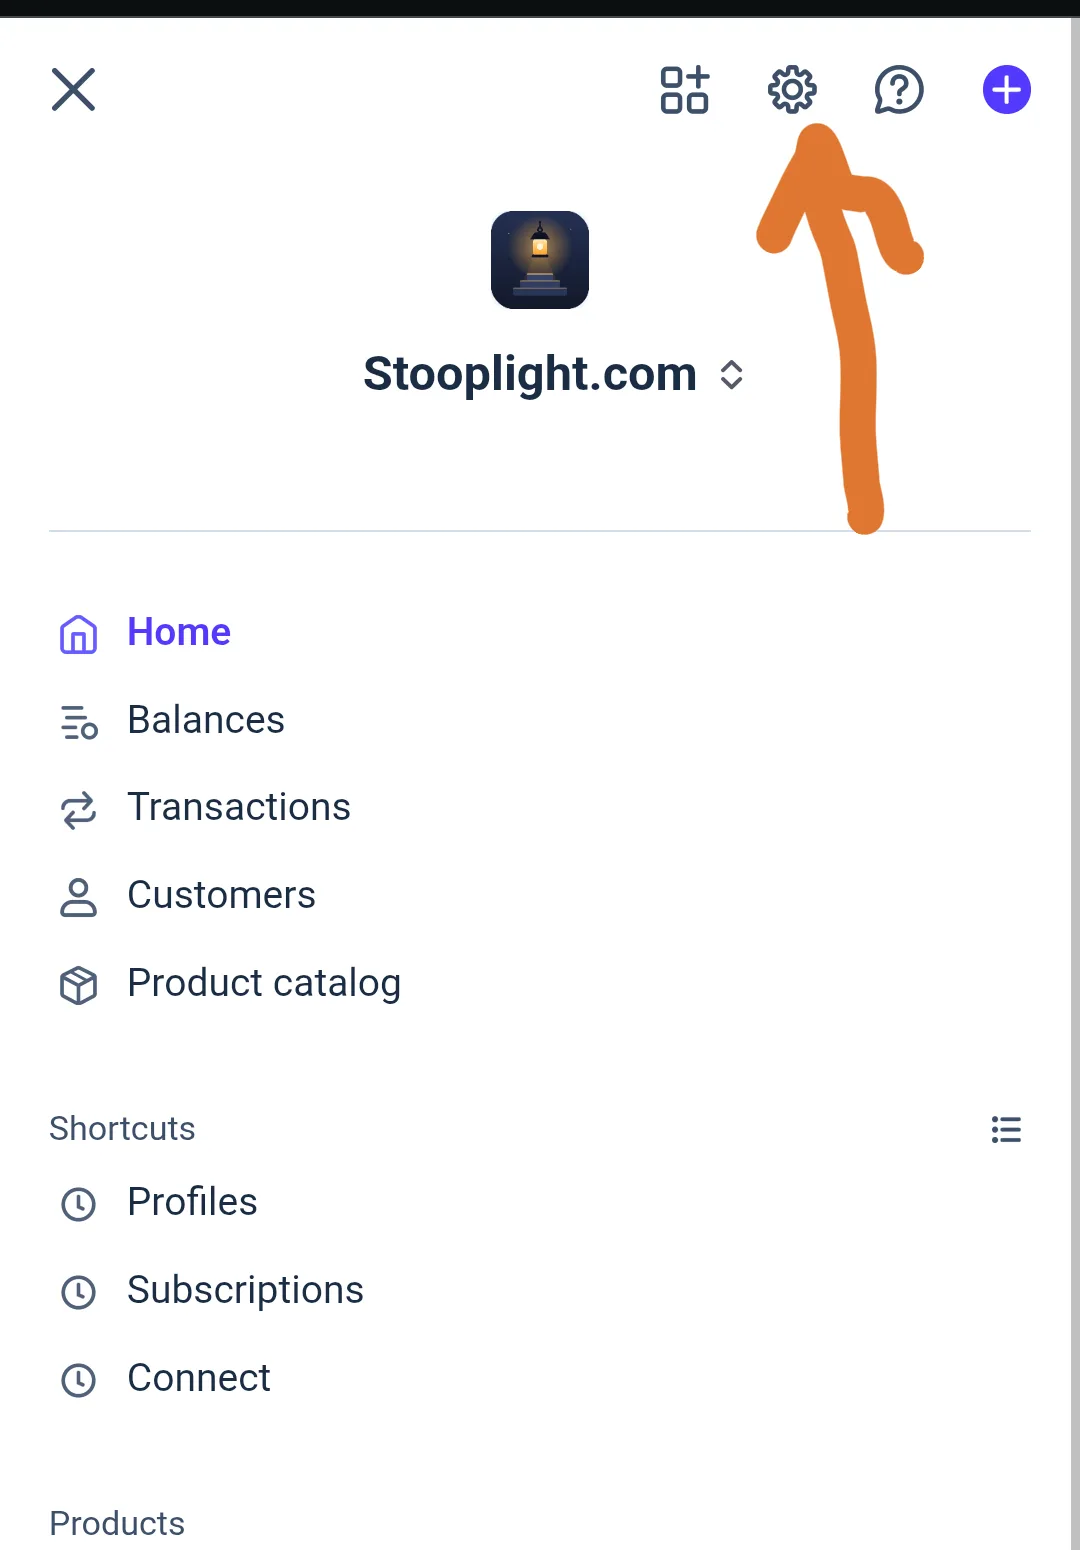
- Tap the ☰ menu at the top left, then the ⚙ settings gear at the top of the menu.
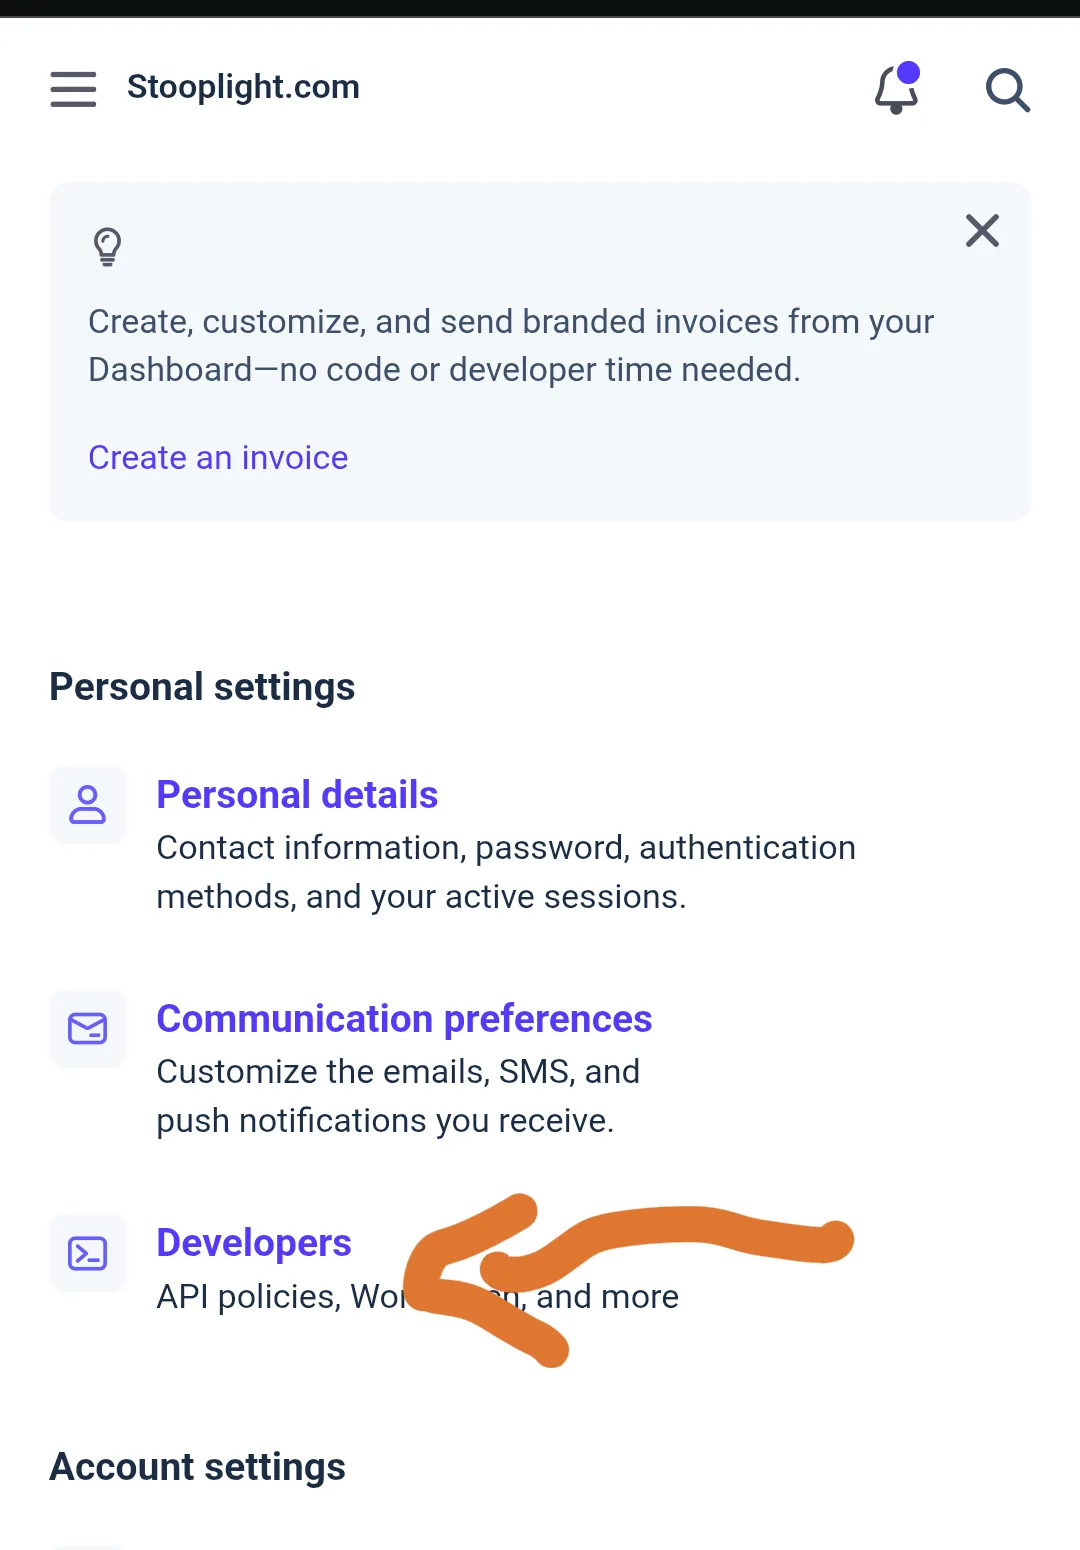
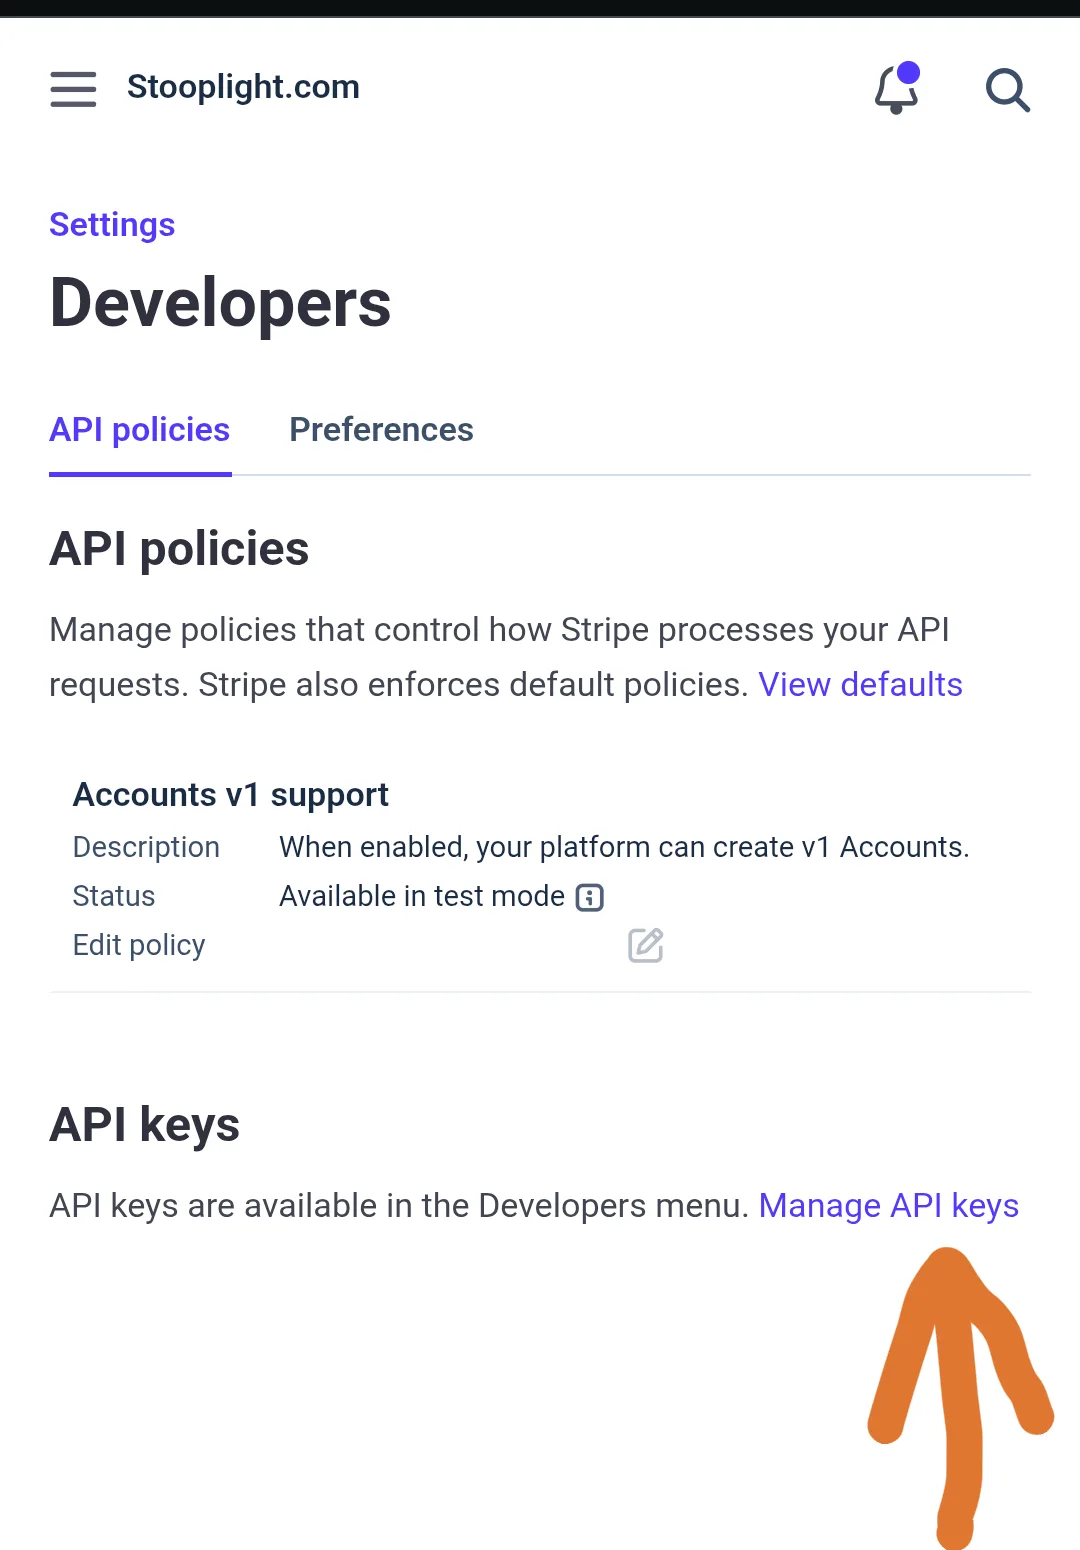
- Under Personal settings, tap Developers, then Manage API keys.
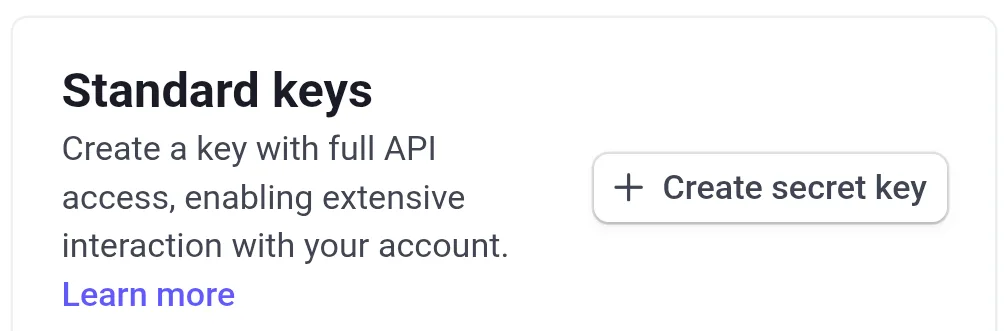
- Under Standard keys, tap Create secret key — not "Create restricted key," which makes a key that won't work here.
- Copy the key (it starts with
sk_live_) right away — Stripe only shows it once — and paste it into the "Getting paid" card. It's checked with Stripe on the spot: you'll see "Connected to your business name."
Part 2: the webhook
The webhook is how Stripe tells your site "this payment succeeded" so tickets and receipts go out. It lives somewhere new in Stripe's layout:
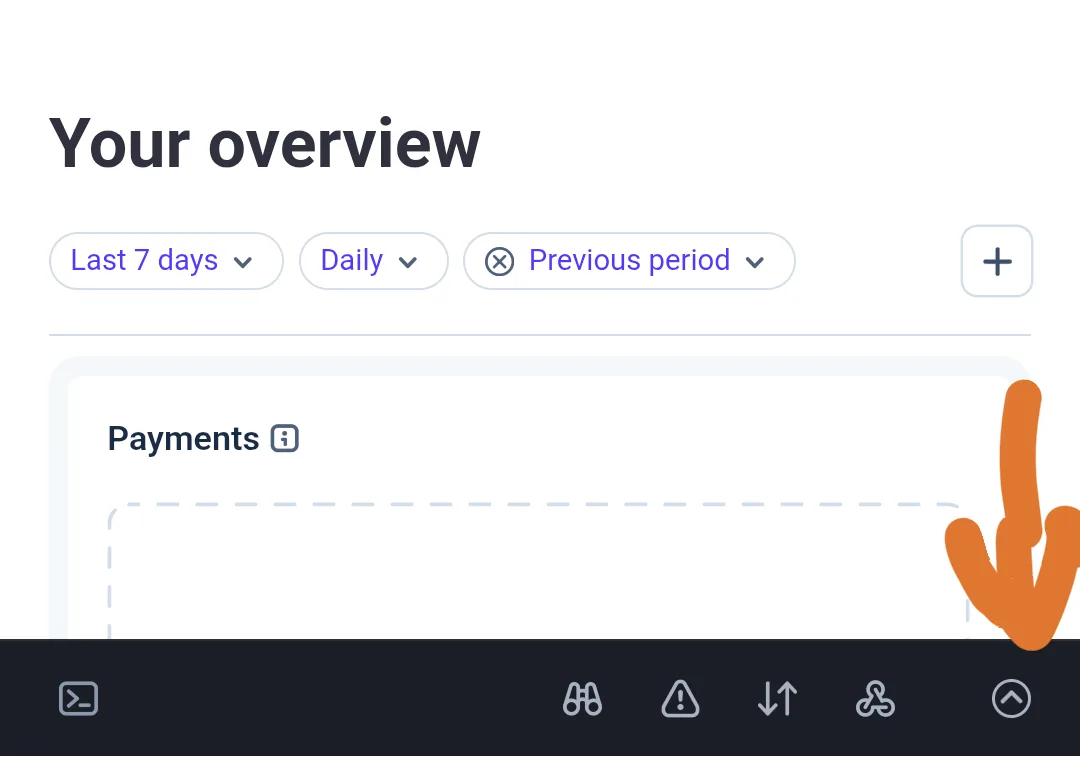
- Along the very bottom of the Stripe dashboard there's a thin dark developer bar called Workbench. Tap the ⌃ arrow at its right end to open it.
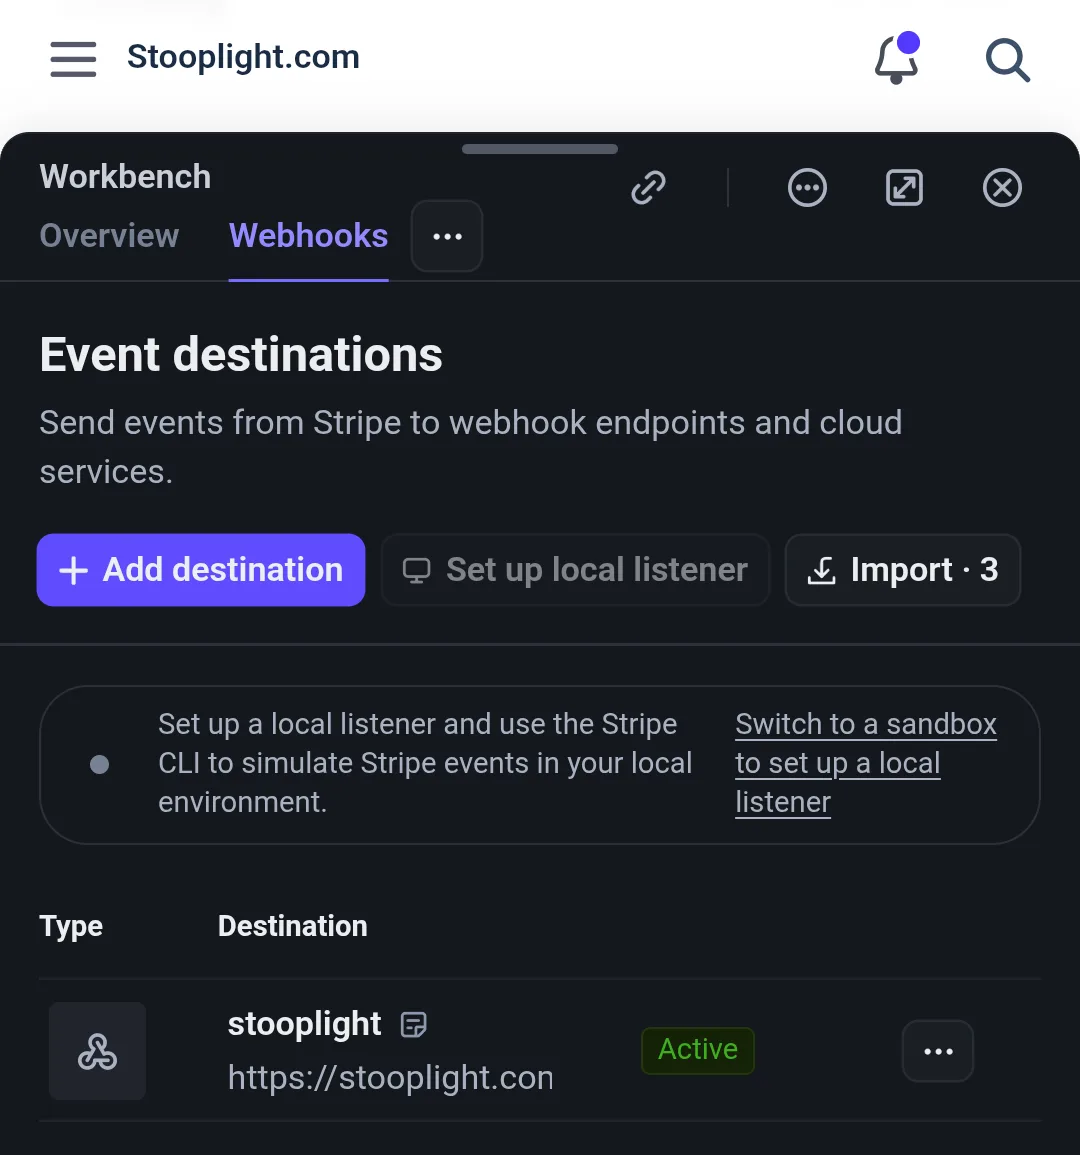
- Tap the Webhooks tab — you'll see "Event destinations."
- Tap + Add destination. Select the event checkout.session.completed, choose Webhook endpoint as the destination, and paste the webhook URL shown on your "Getting paid" card (it looks like
https://yoursite.netlify.app/api/stripe-webhook). - Open the destination you just created and copy its Signing secret (starts with
whsec_) — paste that into the "Getting paid" card too, and you're done. Once, forever.
Stripe rearranges its dashboard now and then — if a label has drifted from these screenshots, the search at the top of Stripe's dashboard finds "API keys" and "Webhooks" by name, and support can walk you through it.